|
One of the highlights of the fall semester was Fairburn's first ever Art Night, which took place on November 20. The evening offered an exciting variety of workshops in photography, sculpture, drawing and painting. I volunteered to teach two workshops on Cezanne. Since each workshop was going to be 45 minutes long, I had to think of a lesson that was simple and direct, accessible to all ages, and allowed children to finish the project in less than an hour. Thankfully, I found a wonderful lesson on Pinterest that fit the bill. I began the workshop by showing a few still life paintings done by Cezanne, including Still Life With Apples (1895), quickly going over his use of composition and color. My introduction was quite brief, about five minutes. 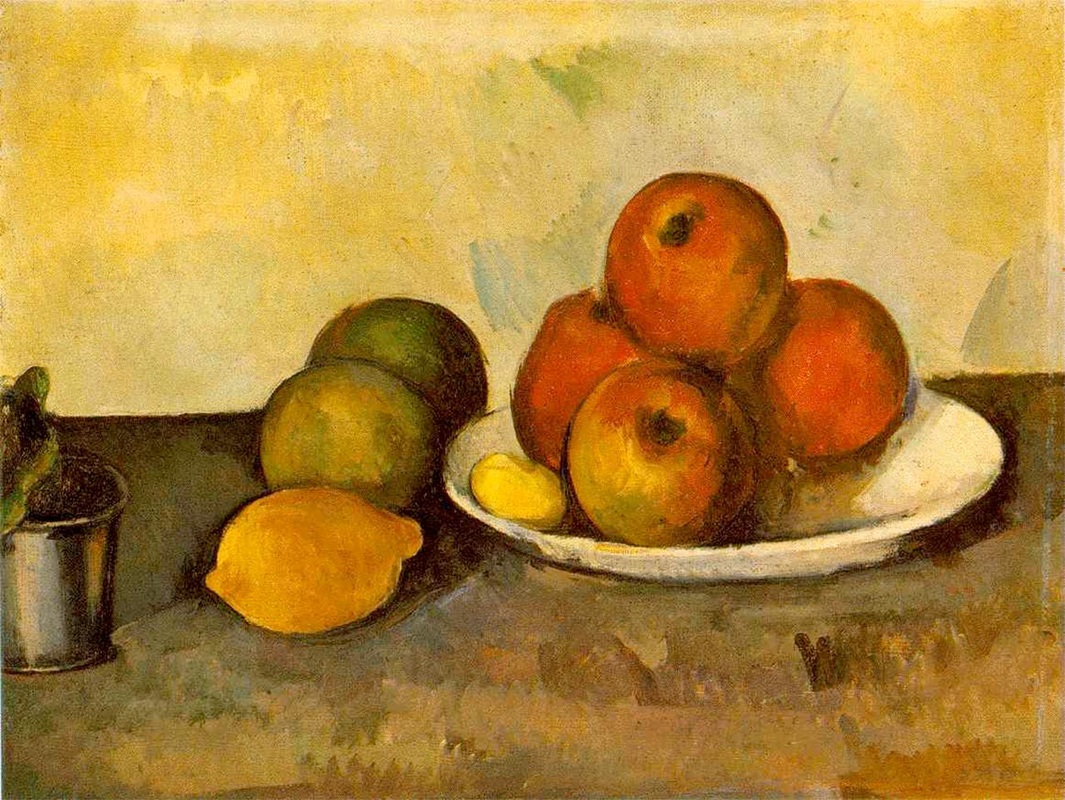
"Still Life With Apples," by Paul Cezanne
I then moved on to the project we would be doing, showing an example I had created the night before: 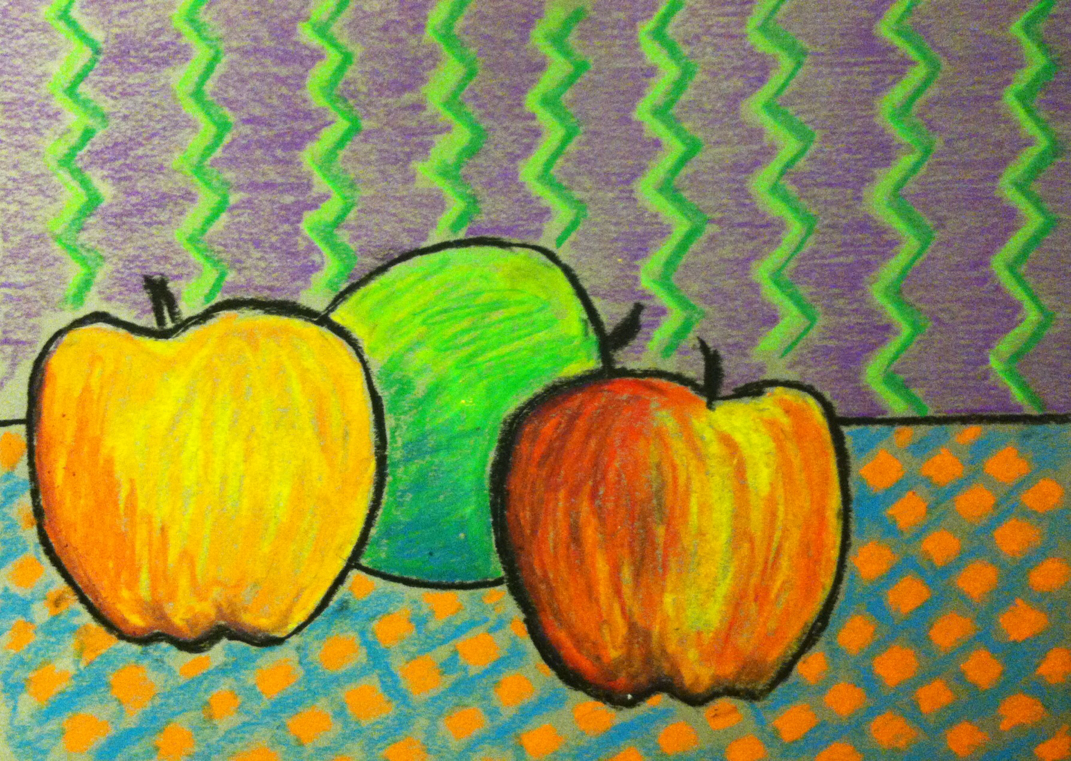
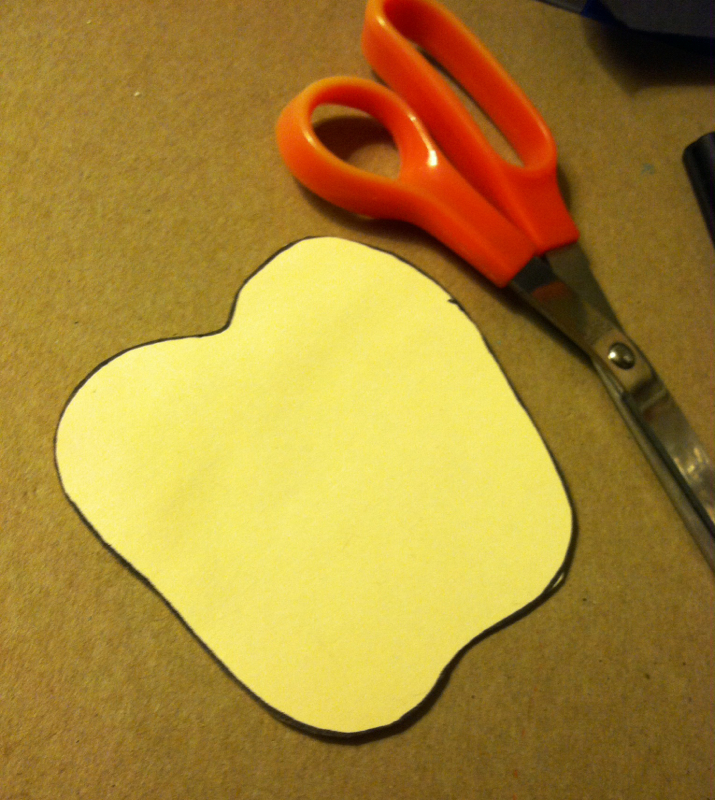
Here were the steps needed to create your own painting in the style of Cezanne: Materials: Drawing paper (gray or white) Pencil 4x4" square of cardstock Oil pastels 1) On a 4x4" piece of cardstock, draw an apple shape that touches the edges of the paper. Cut the shape out to make a stencil. (For the Art Night workshop, I had these shapes premade to save time and to make it easier for the K-1 crowd.)
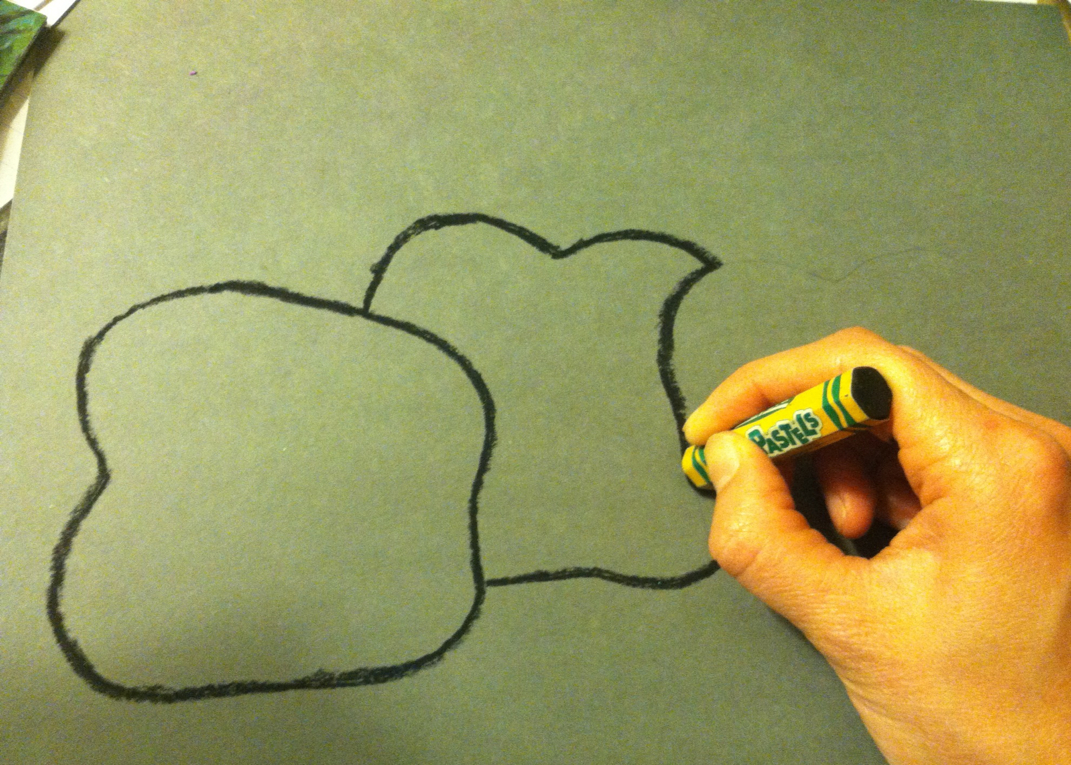
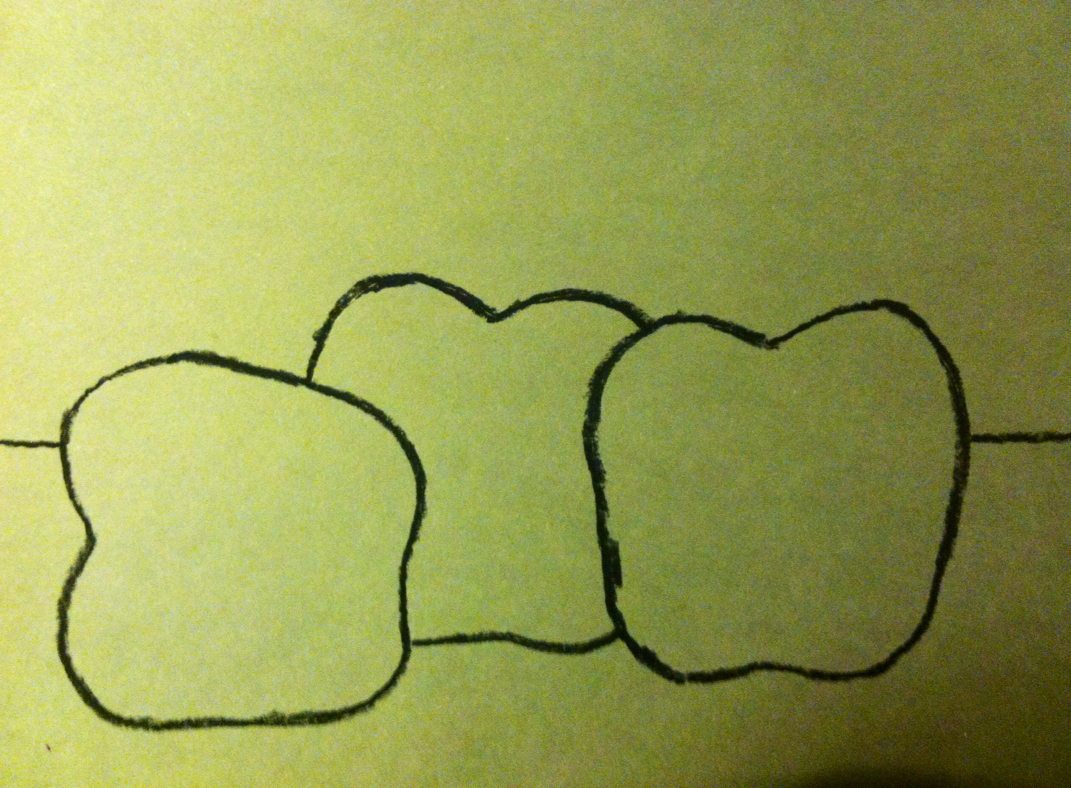
2) Trace three apple shapes onto a sheet of drawing paper, keeping composition and space in mind (suggest overlapping the shapes, having an apple lying on its side, etc.). I used a midtone gray paper for Art Night because I like the way gray paper brings out the brilliance of pastels, but white paper would work also. 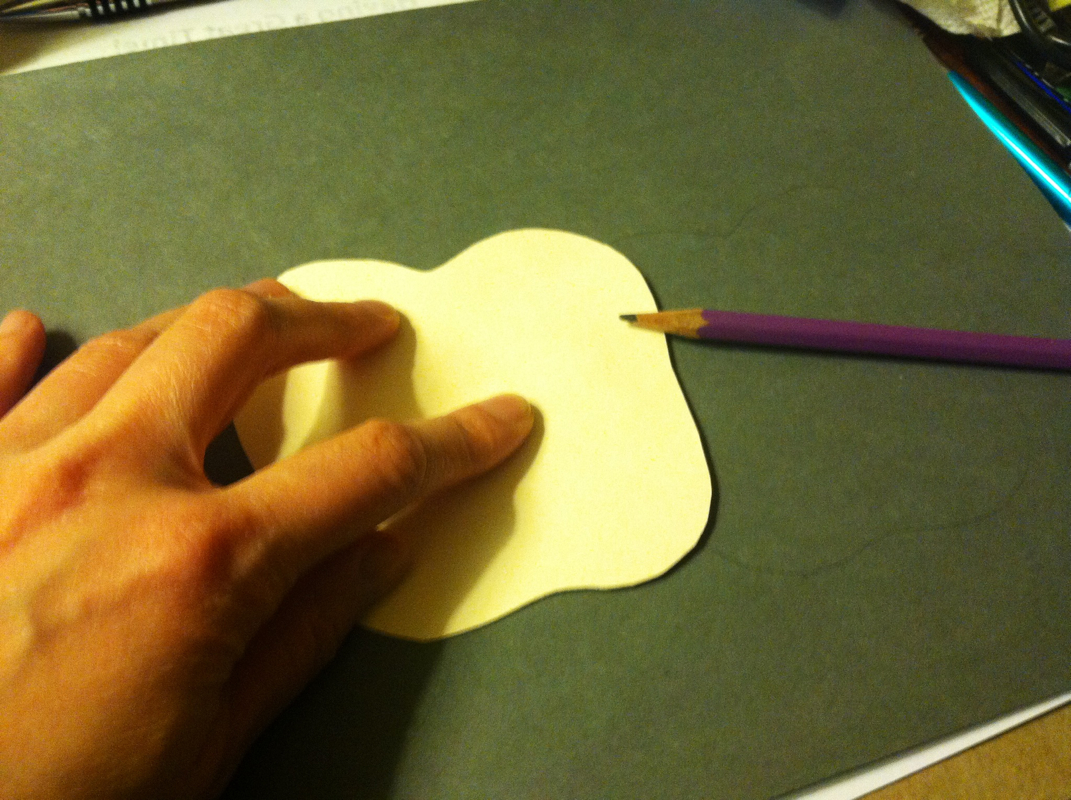
3) Trace the outline of the apple shapes in black oil pastel. Add a horizon line (or as I like to call it, an "excuse me" line).
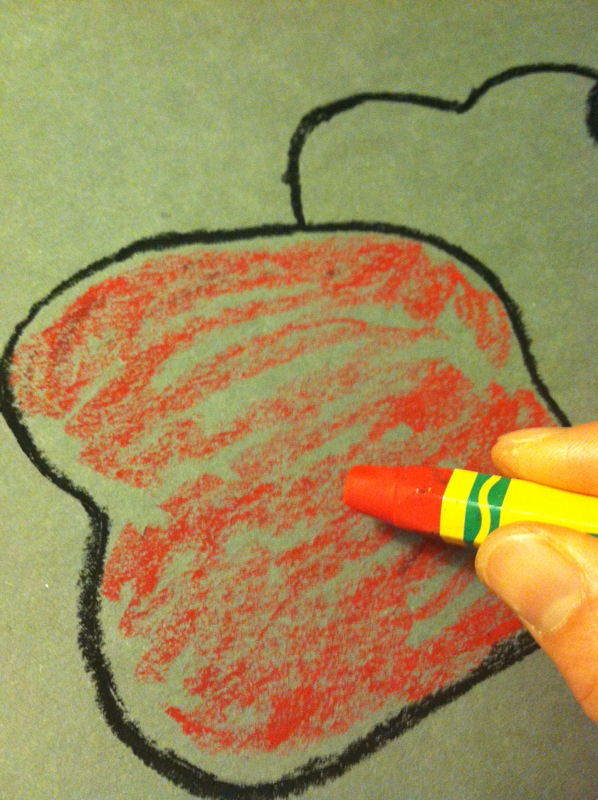
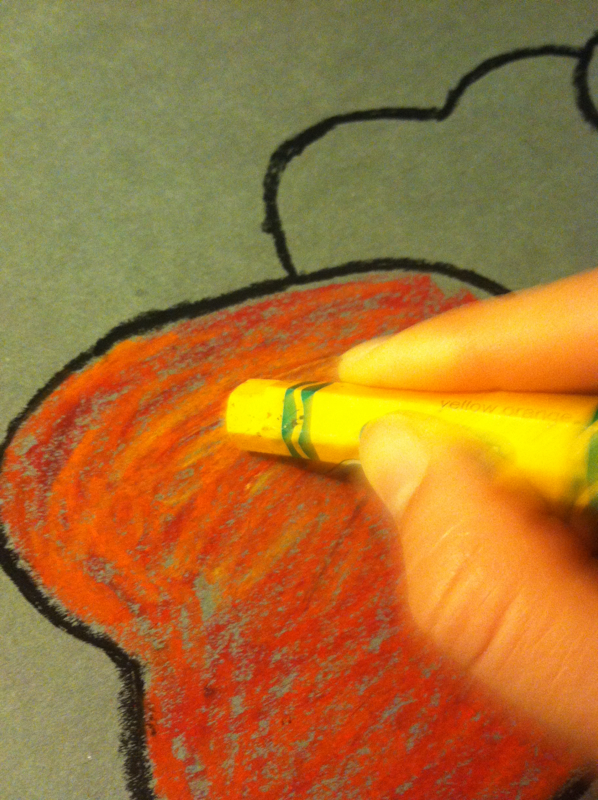
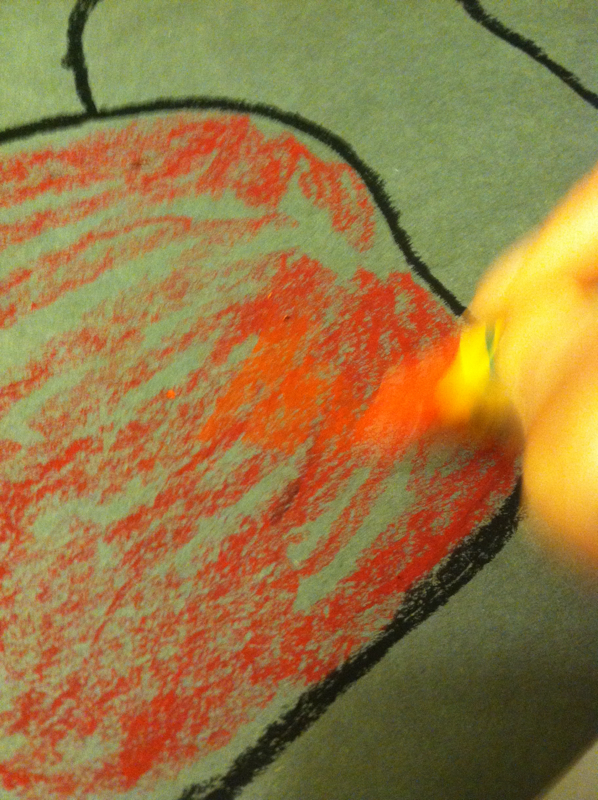
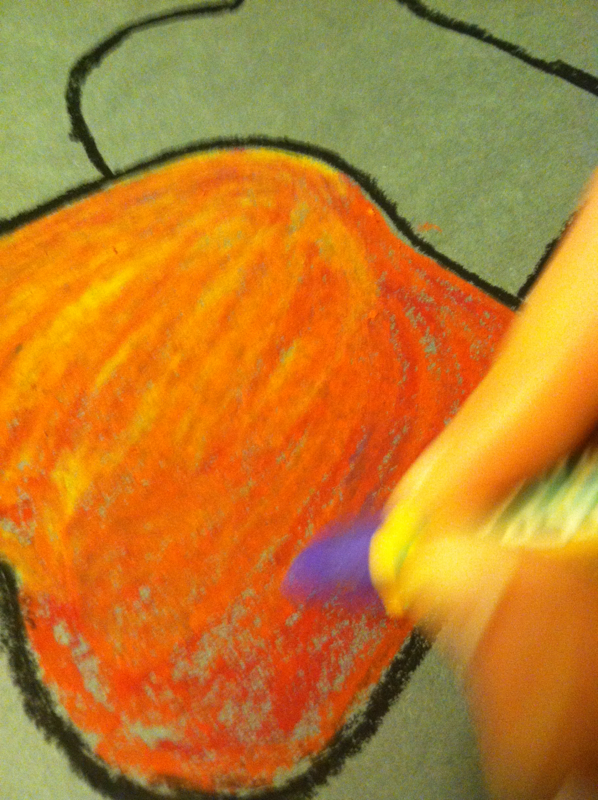
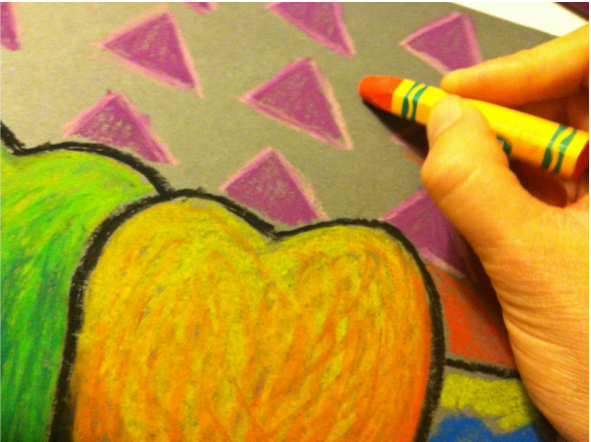
4) I always encourage my students to be creative when using color. I explain how if we think like artists, an apple should not just be a plain red, yellow, or green, and show how to mix hints of orange, yellow, or even blue or purple with red to make the most gorgeous colors. The photos below demonstrate how I apply layers of color to make an apple really "pop" from the page.
5) Apples saturated in color! 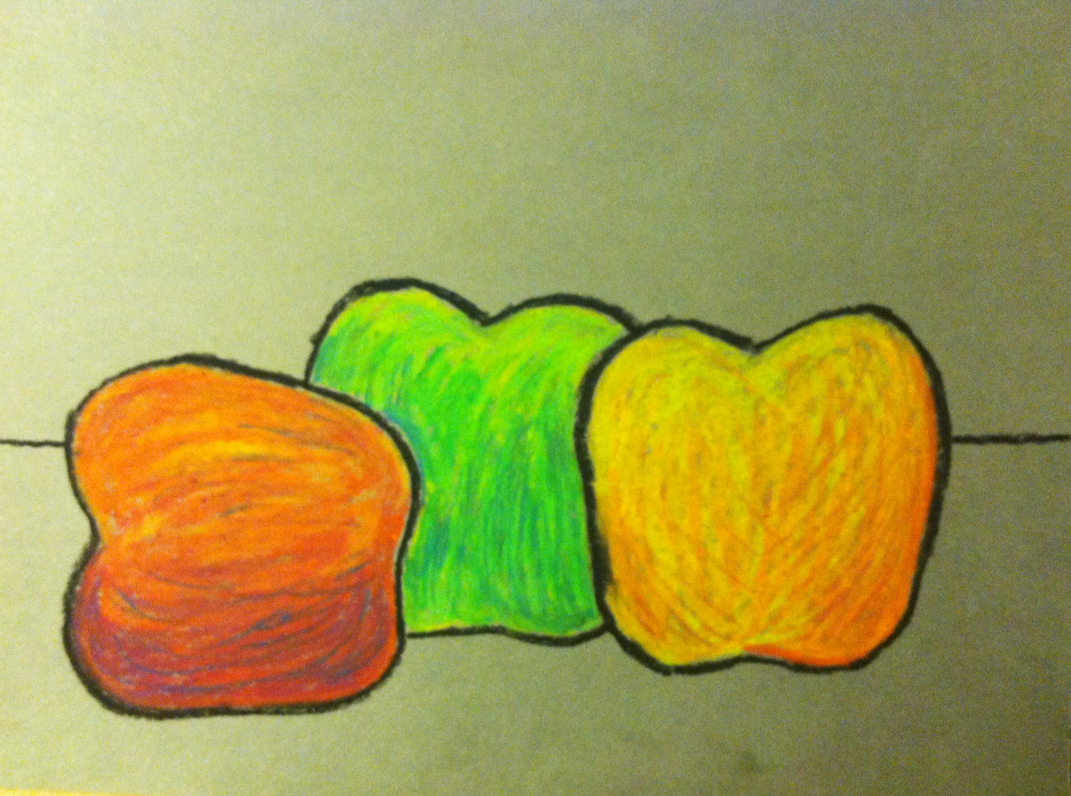
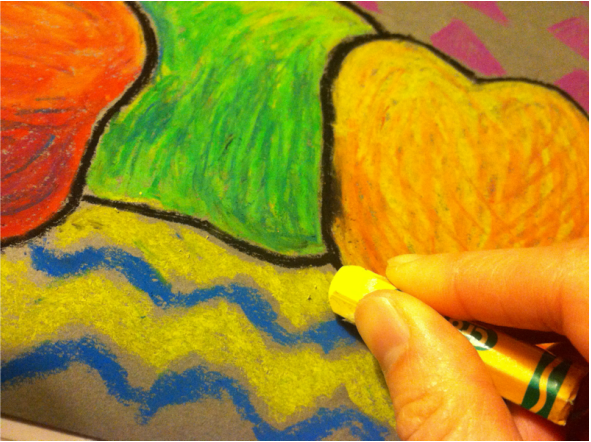
6) Color the background (wall) and the tablecloth with a non-apple color, such as purple, blue, pink, or brown. 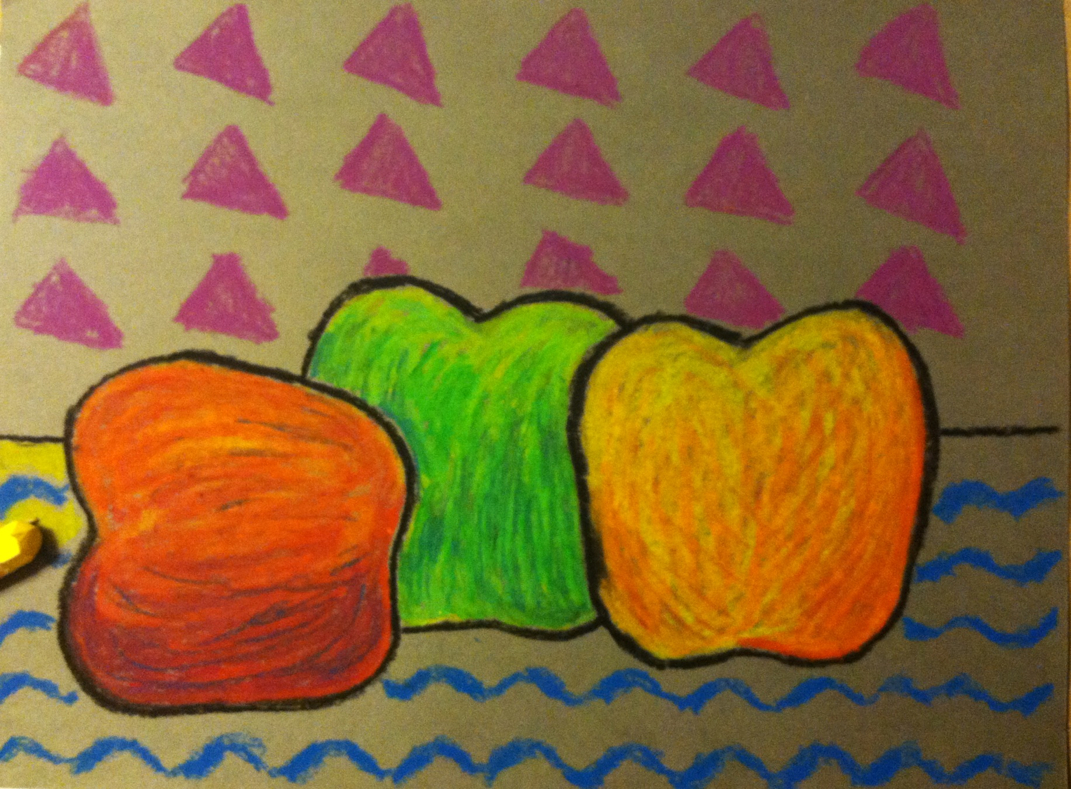
7) Fill in the rest of the background and tablecloth with apple colors: yellow, red, orange, or green.
8) Add stems with black pastel. 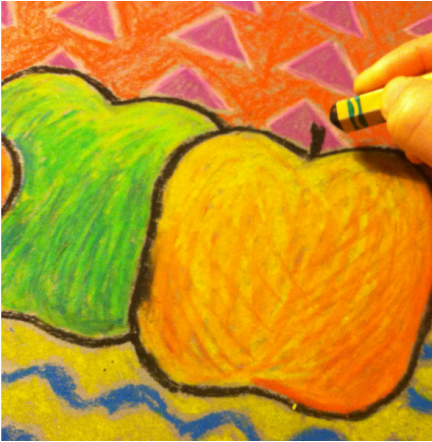
Completed still life. 
A couple student samples (the first is obviously in-progress): 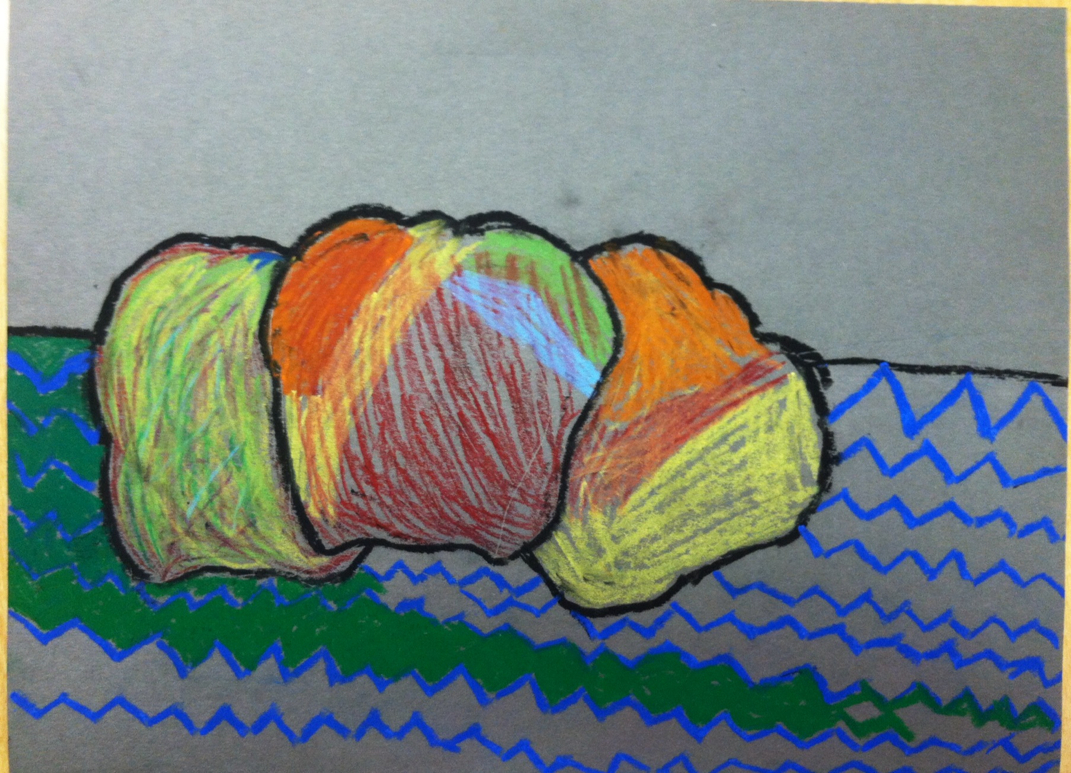
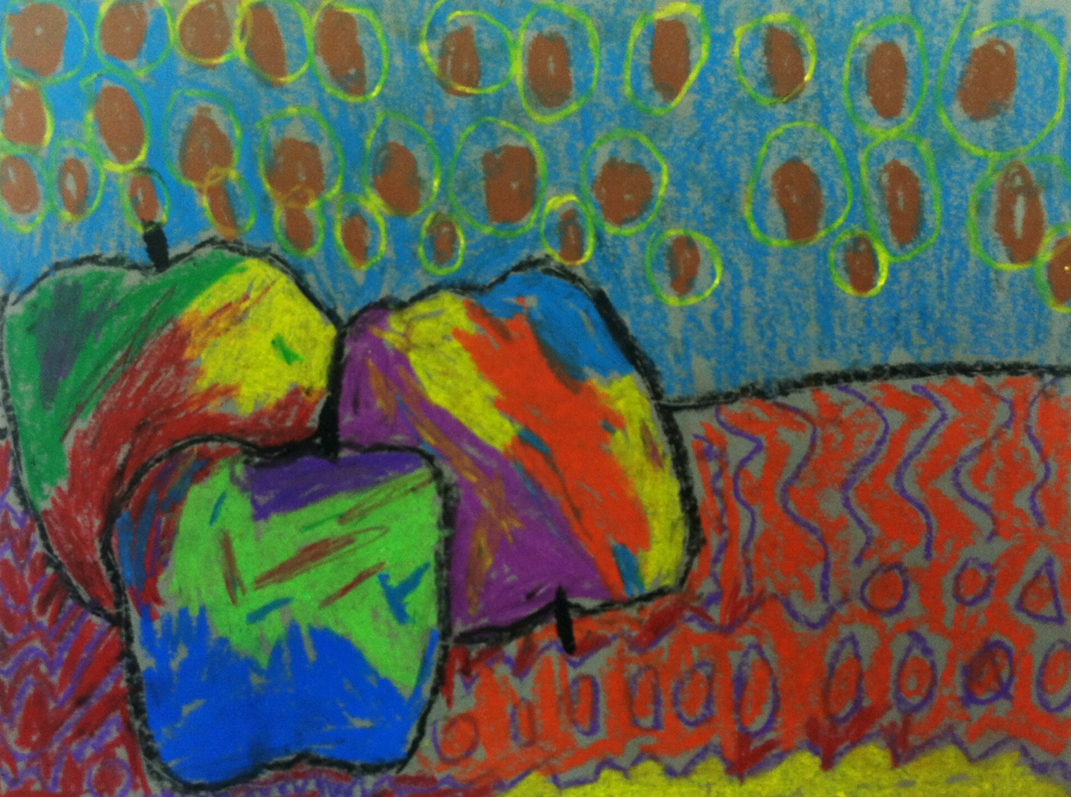
I think this one is wonderful for its energy and "jazzy" feel.
I found that students had success with this project on so many levels, and children as early as kindergarten were able to produce remarkably sophisticated and fine quality work. It worked well on the other extreme, too; fifth graders and even parents loved doing this! My thanks to the parents who volunteered to make this wonderful Art Night happen, and to my awesome colleague, Ms. Lessner, for assisting me.
1 Comment
Andi
9/21/2018 08:53:34 am
These are gorgeous. What size is the background paper? And how long did it take to complete these? (My class periods are about 50 minutes long) Thank you! Leave a Reply. |
Archives
September 2019
Categories
All
|

 RSS Feed
